
1 Oct 2019
Mocking Up Landing Pages With Adobe XD.
The world of user experience is ever-changing with new practices and new tools. In days past Photoshop reigned supreme as the only tool of choice for web design, not any longer. These days other tools like Sketch and Figma have stepped up to challenge Photoshop in the world of web design. These tools provide a more streamlined solution to web development and responsive workflow. Photoshop is more than just a web design tool (it's a general design tool), so in response Adobe has developed Adobe Xd (or 'Xd') to integrate some of the rapid prototyping and responsive capabilities these new tools offer without having to massively rework the Photoshop product. Xd is a productivity tool to help non-designers and non-developers bring together their ideas for a digital interface(like a website) into an easy-to-use package. It can be an invaluable tool for Digital Marketers if you have responsibility for managing a website, or helping with its construction. It can also be used to augment your Photoshop designs through an import capability that brings through all the editable Photoshop layers for you to use in Xd. To help you get up to speed, this article will be a quick introduction to Xd and some instructions on how to mock up landing pages, and make them look great. This will hopefully save you time, and make you productive more quickly.
Example output
Here is an example of the kind of landing page mock-up you can create easily with Xd, and some quick tips:

Why would you create a mock-up?
If you have a multidisciplinary team working with you on your website and digital marketing, it can be a great asset to be able to quickly communicate your thoughts about what you need created on your site in a form that others can see and provide feedback upon. Your wire-frame can include:
Potential marketing messages
Imagery requirements
Length and complexity of the page
Content requirements for the site
From our perspective, a mock-up provided by a client usually provides us with a clearer more specific idea of what they are looking for. However, we normally treat client-provided mock-ups as a good first draft rather than the final solution - as we will highlight best practices and ideas to build upon what has been put together.
What can Adobe Xd do for you?
Build responsive website wireframes: You can create different mock-ups. Including mobile, tablet and desktop variations.
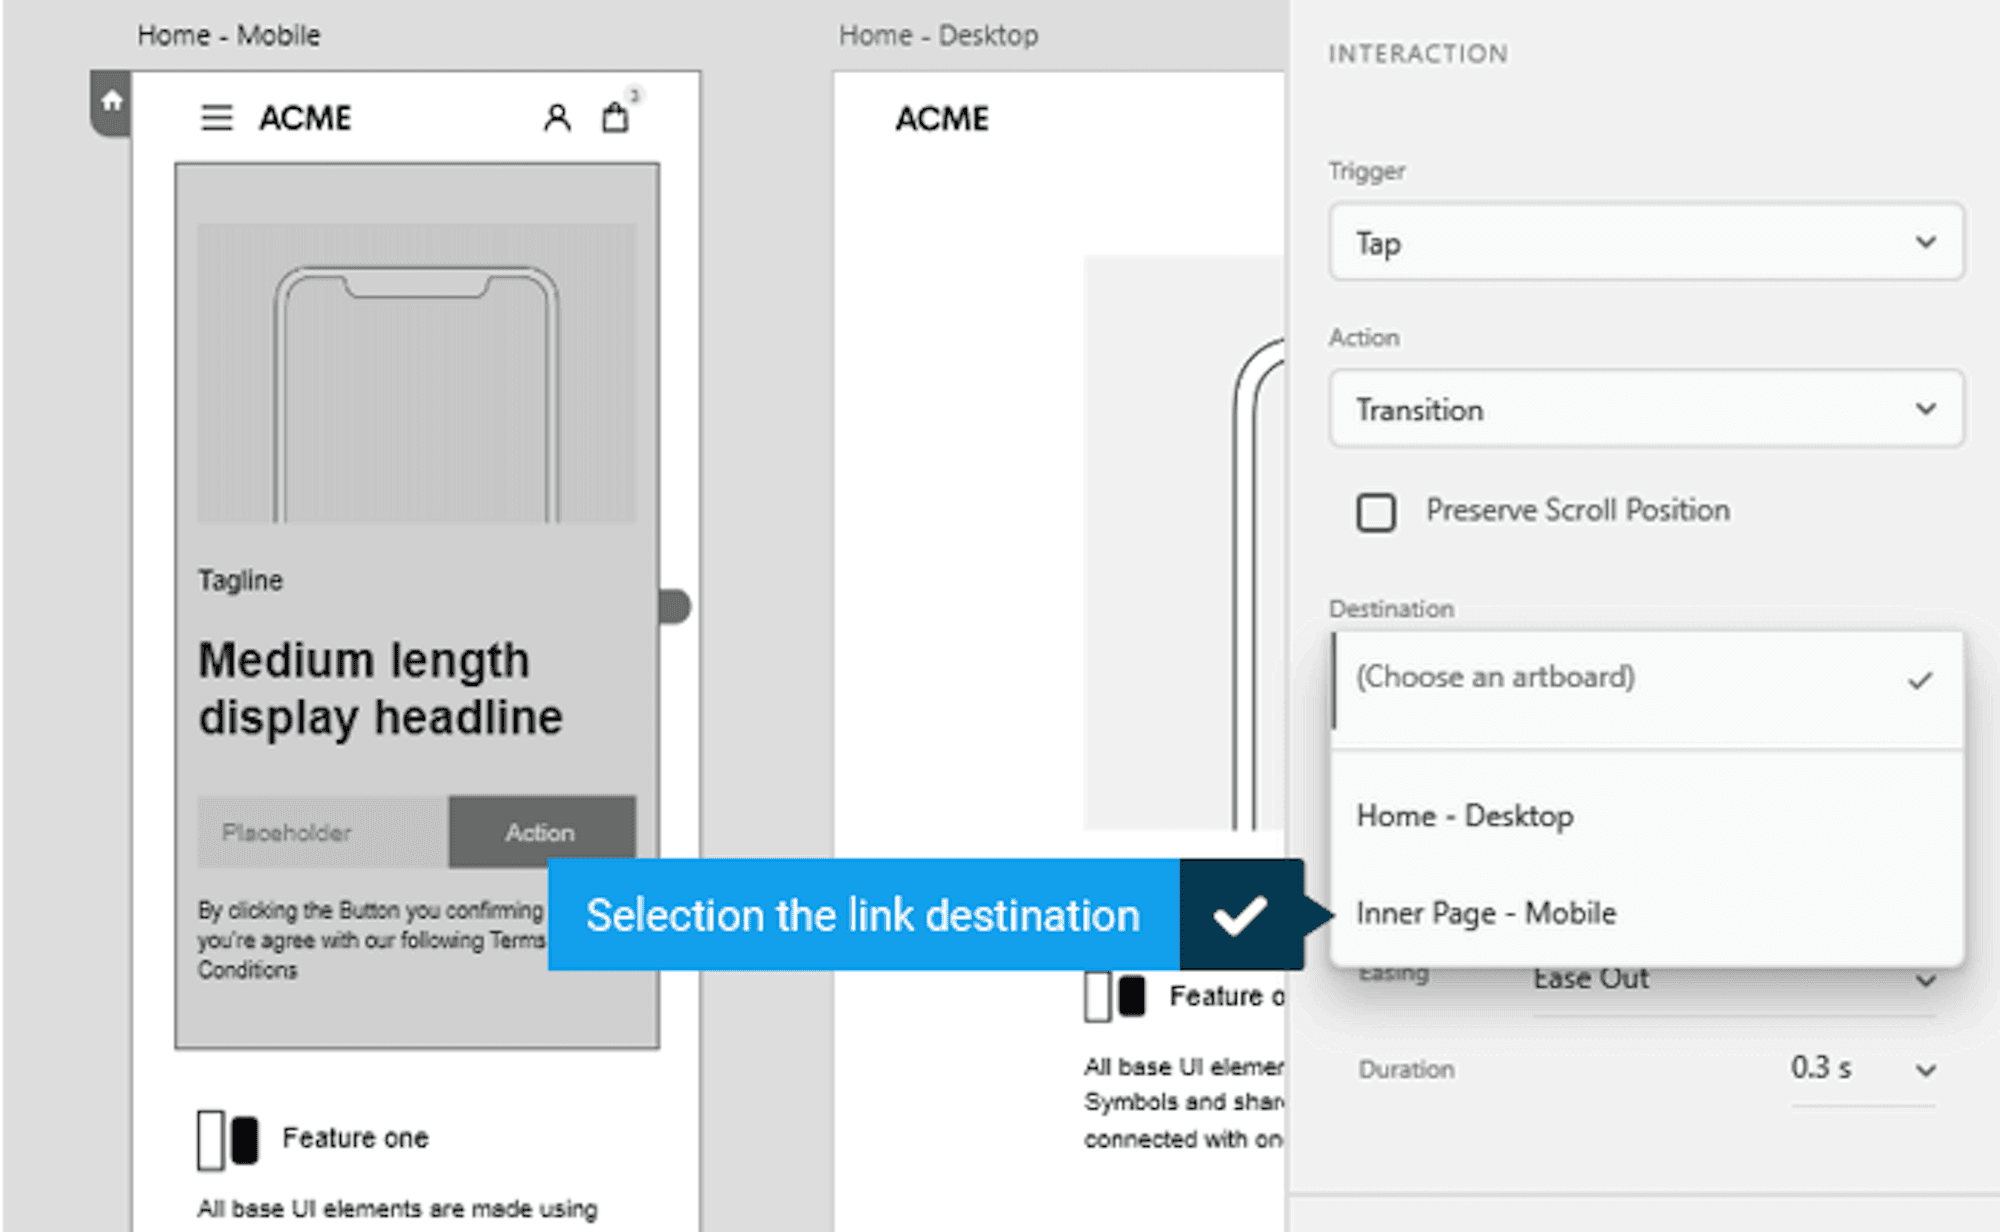
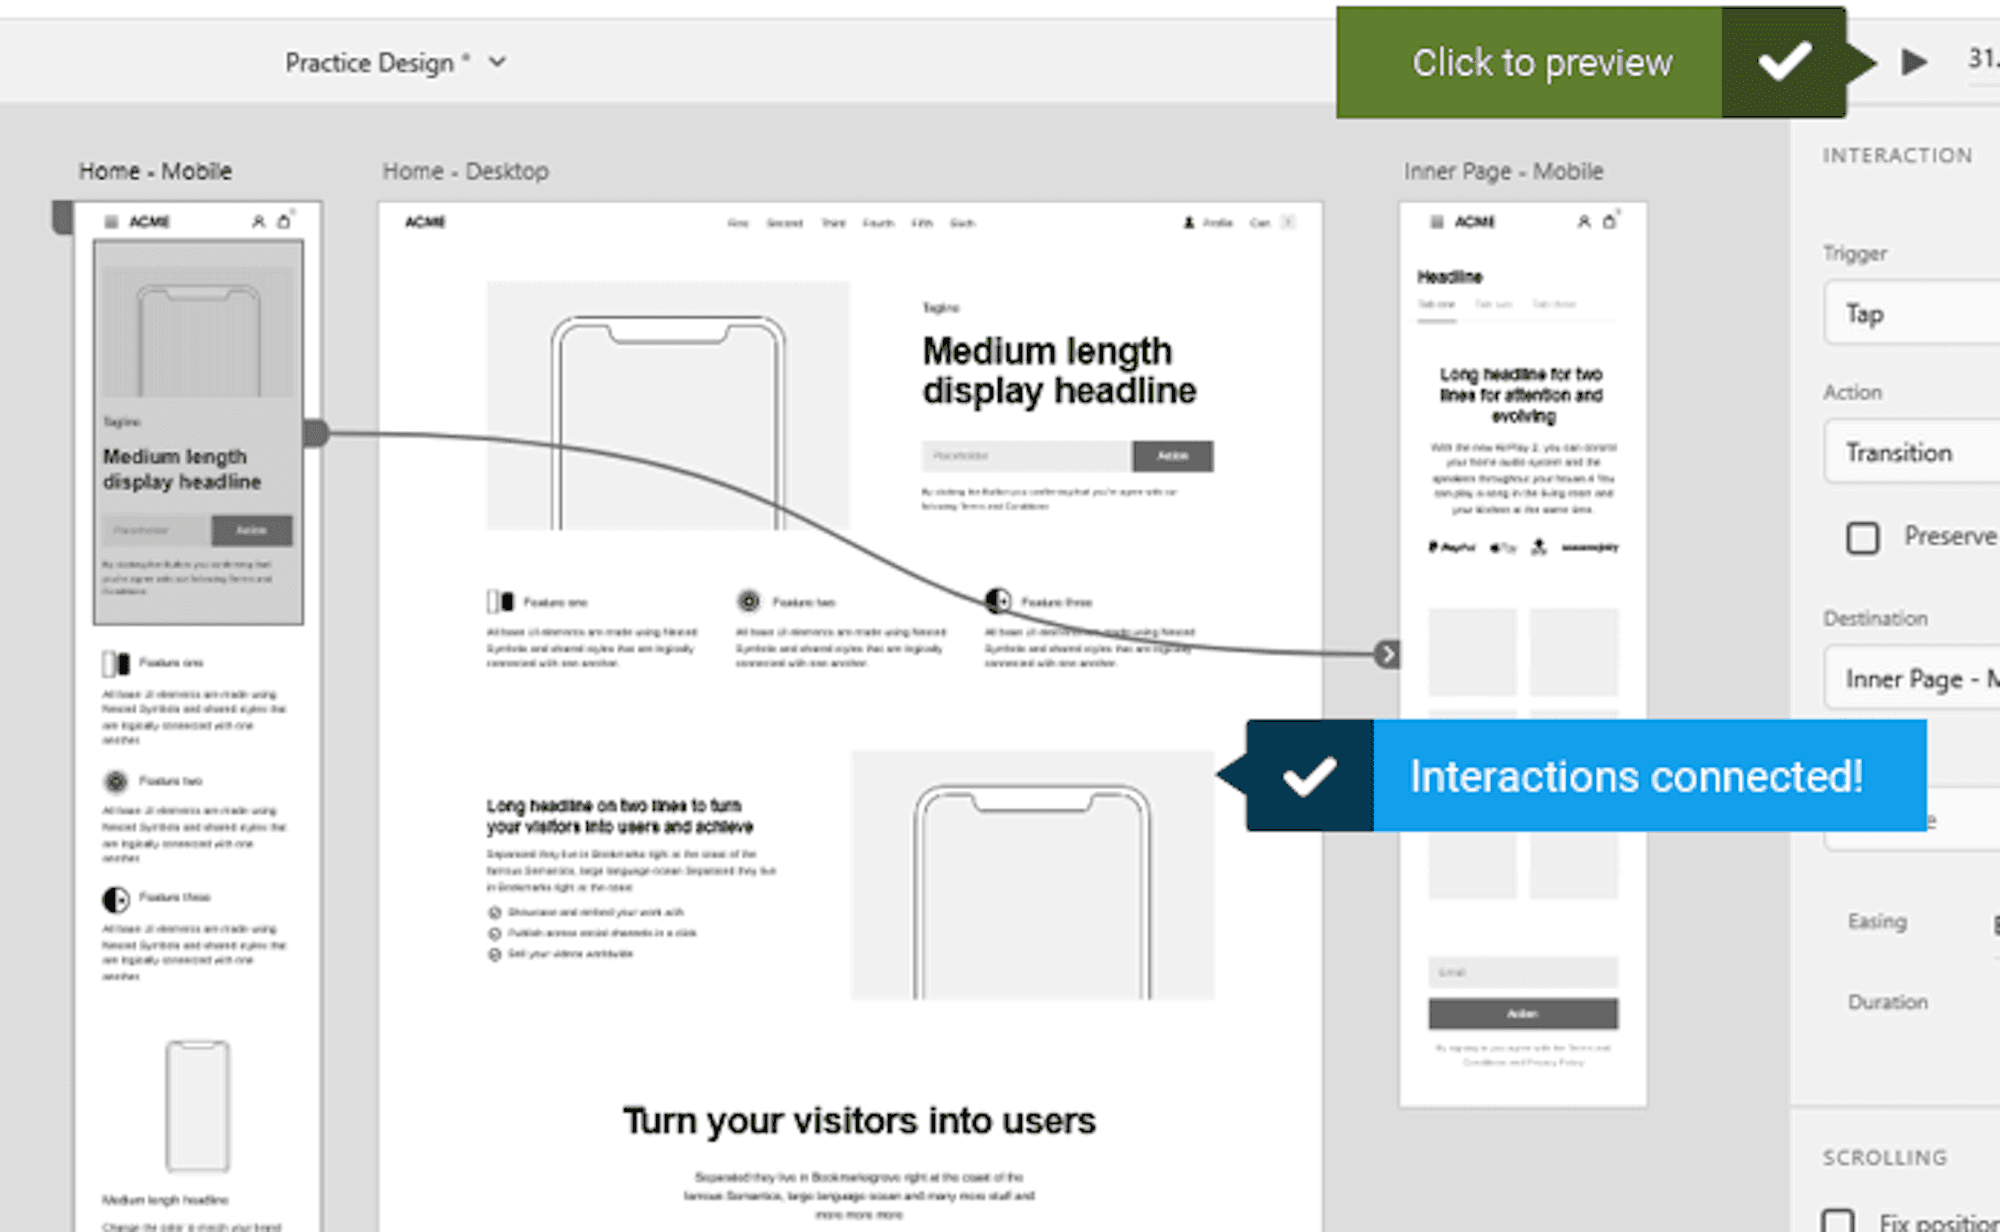
Create dynamic prototypes: You can create clickable hot spots in your mock-up that when clicked navigate to another page, simulating the website experience. This is great for troubleshooting longer interactive workflows.
Share mock-ups with others, and share in a collaborative digital space: Xd has a builtin sharing system where you can invite others to view and comment on your creation.
Preview your mock-ups on your target device: There's nothing better than seeing your designs on the actual device. There can sometimes be a disconnect between the design on a desktop and how it actually looks on the smaller resolution of a device. Specifically in relation to the size of the elements and overcrowding.
What do you need?
Adobe Xd - Free
A wire-frame kit- like Platforma - Website Wireframe Kit - Cost <$100 [Optional]
You can do everything you need with just Xd, but you are going to be a lot more productive if you can leverage an off-the-shelf wire-frame kit. There are a range of wire-frame kits included with Xd, and others you can download online.
Key Xd concepts
Xd is a pretty simple tool, but there are a couple of things that are important to know before you get started.
Artboards
The artboard is the name of your working space. In order to start working on a page mock-up, you need to decide what sized artboard you want to work on. It will look something like this:
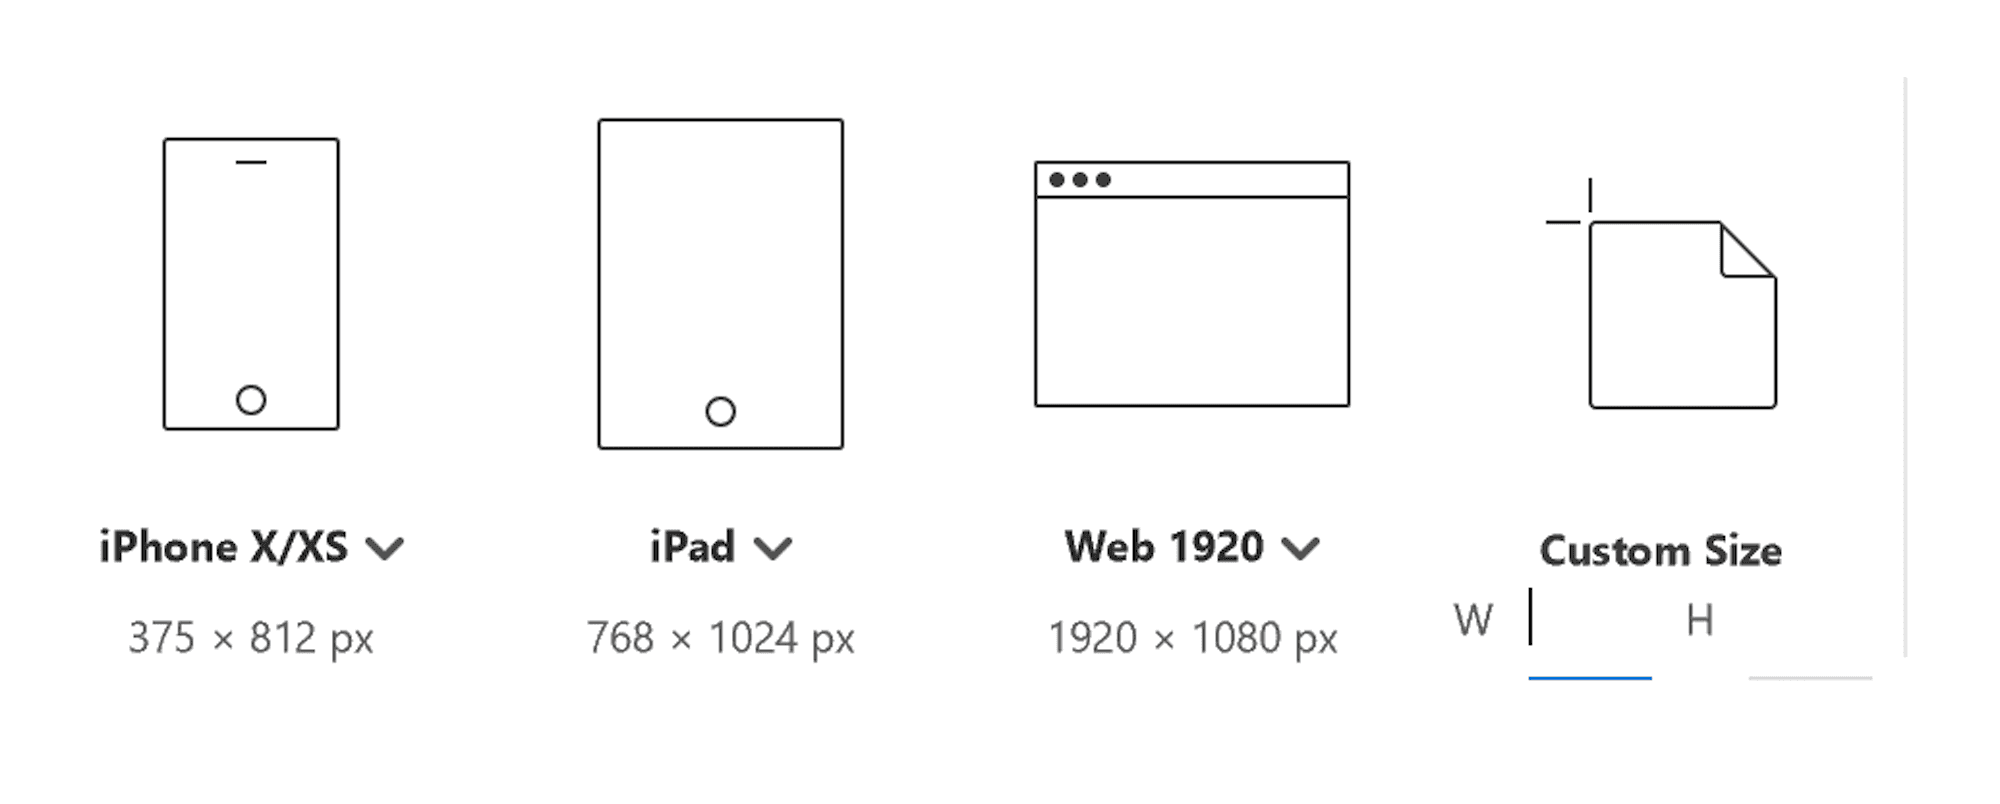
We now live in a mobile world. I would suggest you consider getting in the habit of starting off with a mobile artboard, as this focuses your attention on the critical elements your landing page needs. But you can add a range of artboard sizes to a project. When you first start a project, you will be presented with a relatively small-sized canvas with nothing on it. If you don't use a wireframe kit, it can be a lot of work to draw out the screens that you want.
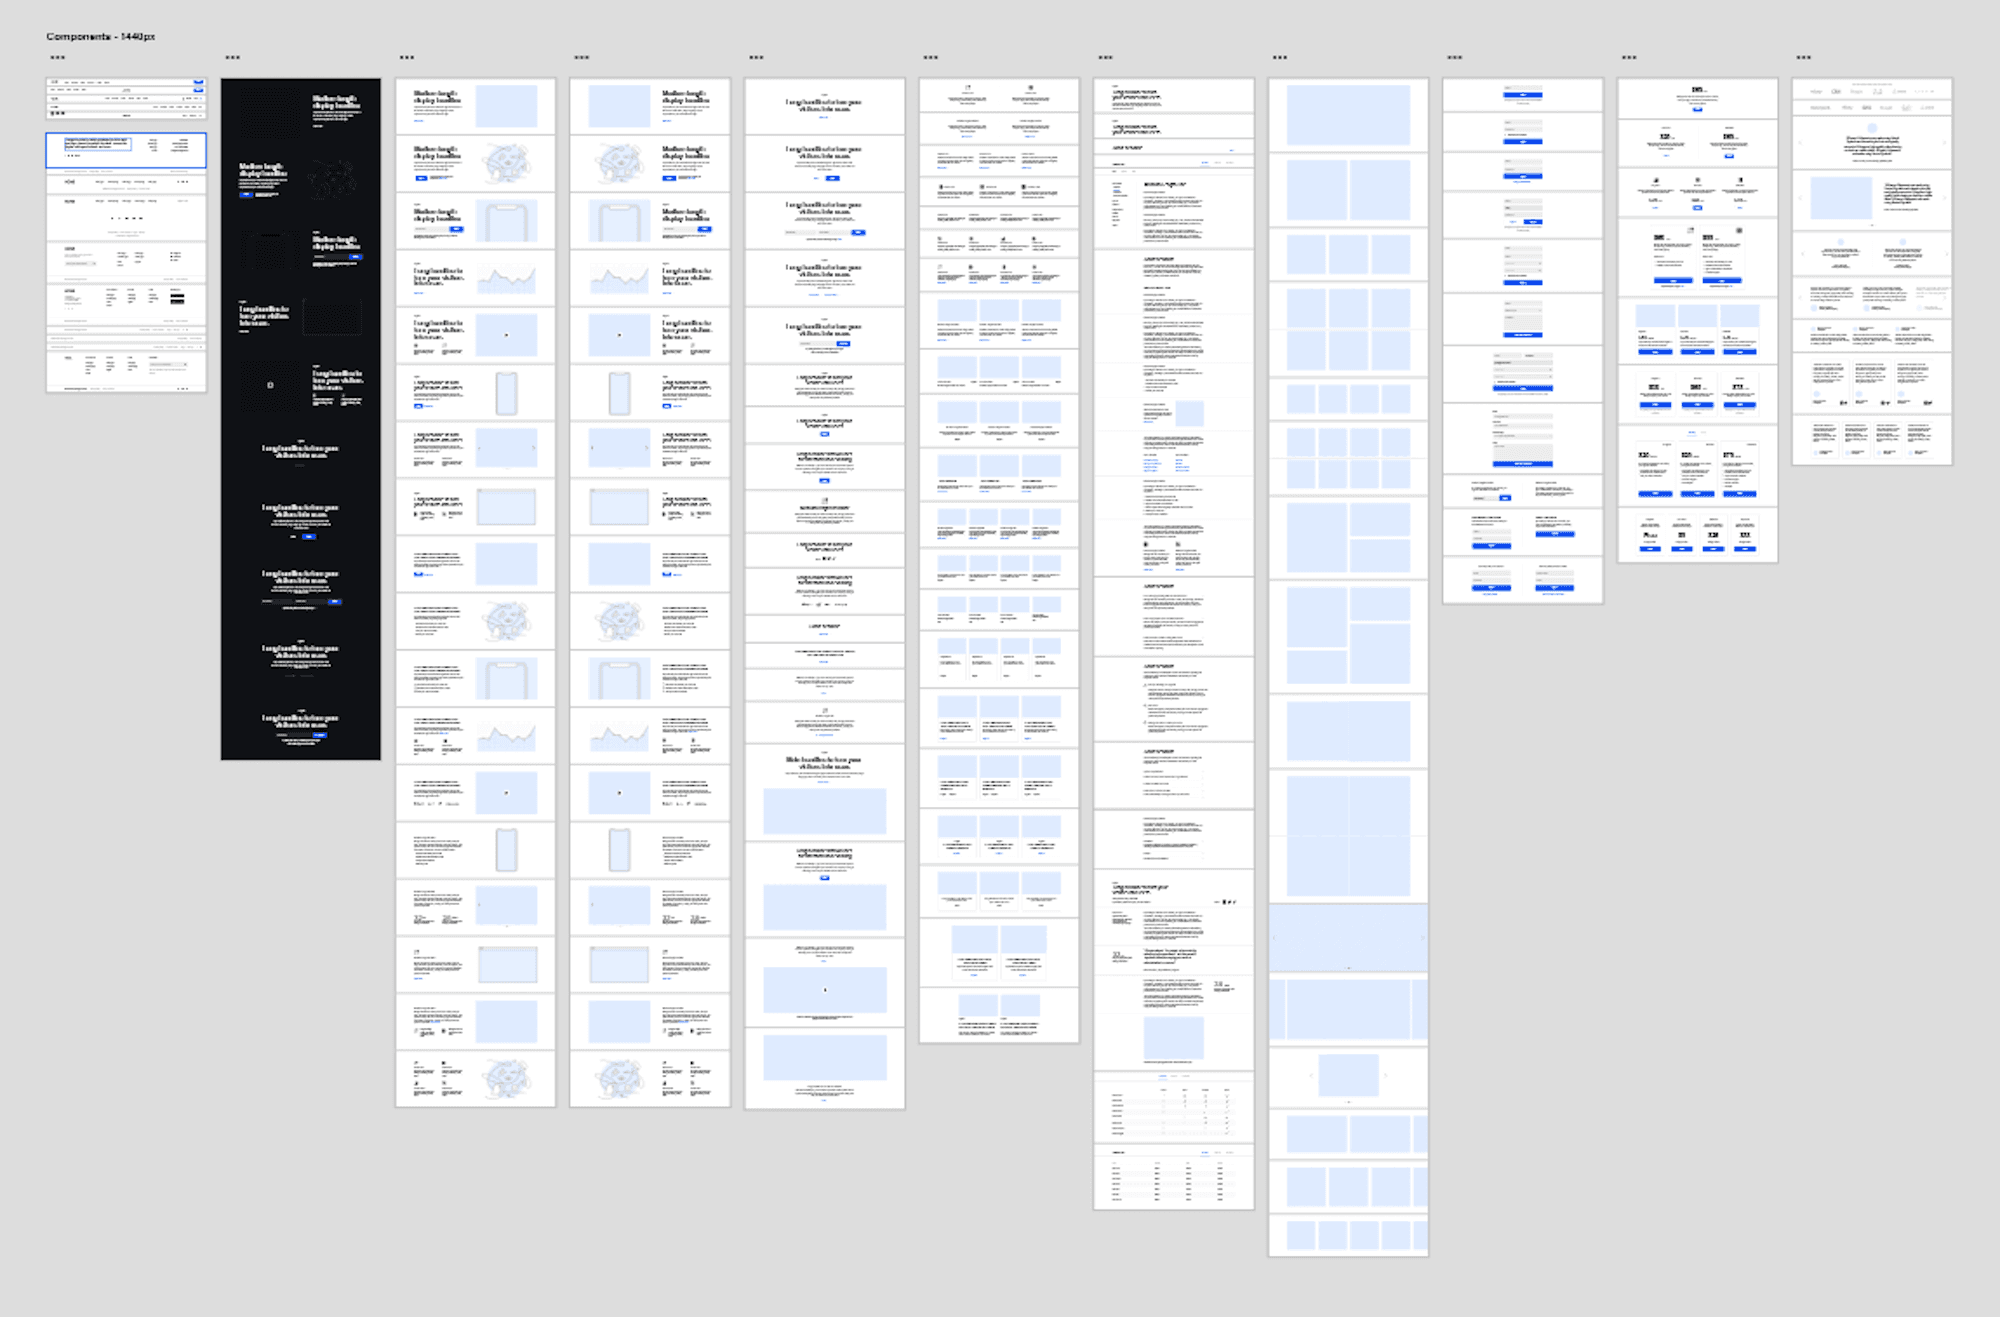
Components and modules
Xd considers components to be atomic elements that make up a module. So this could be a button, a piece of text, or an input field. A module is a collection of elements that make up a discrete package of information. A module usually takes the form of a horizontal strip. The development of responsive interfaces has pushed web design down the path where this is a commonly used practice for structuring information. Wire-frame kits provide you with both components and modules. But for the most part, you will be working with the modules for productivity.
Keyboard shortcuts
The difference between a bumpy start and a smooth start to using Xd, is quickly getting across some keyboard short cut. Being able to seamlessly glide through your screens takes a bit of the edge from the learning curve. There are a million shortcuts in Xd, but I find the following useful:
Hold Alt + Mouse scroll = Zoom in or out
Hold Space + Click & Drag = Move the canvas relative to you
Shift + Mouse click = Add to a selection
Ctrl + 3 = Zoom to the selected element
Ctrl + 0 = Zoom to the whole project
V - Select the select tool
T - Select the text tool
Getting productive, faster!
I'll say it again, the wire-frame kits are invaluable for being productive in putting together a quick mock-up. The Platforma website wire-frame kit is particularly handy as it comes with a set of 173 different module designs for desktop, tablet and mobile (for each!). The library includes:
Headers
Left content, right content
Covers
Centres
Grids
Forms
Pricing
Customers
Menu Footers
Initially, this may seem daunting, but once you become familiar with the patterns available and using the shortcut keys, it becomes a lot easier to find the module you are looking for. Platforma - modules for days:
To quickly get into creating a landing page.
Zoom in - you will start very far out (Alt + Mouse wheel)
Get used to movement - Hold Space key + click & drag
Find a module that you like in the wireframe kit
Copy the item (make sure the select rectangle is around the whole module)
Flip to your blank Xd artboard and paste in the module
Click and drag to place the elements where you want
Once you gain a basic familiarity with the modules in Platforma and the Xd keyboard shortcuts, you can put together a mock-up easily within an hour. Tip: When creating artboards for using Platforma, you may want to set a custom artboard width to reflect the predefined widths of the modules. The Xd defaults are slightly different and this will help the modules snap into place on the artboard. The artboard widths you want are:
Desktop - 1440px
Tablet - 1024px
Mobile - 320px
Mobile-first
A really great thing about Xd is that it can be much easier to focus on mobile first. Use this as an opportunity to change your thinking about mobile at the definition stage. Not as an afterthought.
Common Xd actions
You will have to do a couple of things commonly as part of this process
Add art board - Click on the icon above the search icon on the left, then click a space outside of the active artboard. You can place art boards almost anywhere.
Increasing the height of the artboard - just click on an empty part of the artboard, which will show a selection box which you can extend downwards.
Update text - Switch to the text tool (keyboard - 'T') find the element you want to update. Keep clicking until the text you want is selected. This can take a few turns.
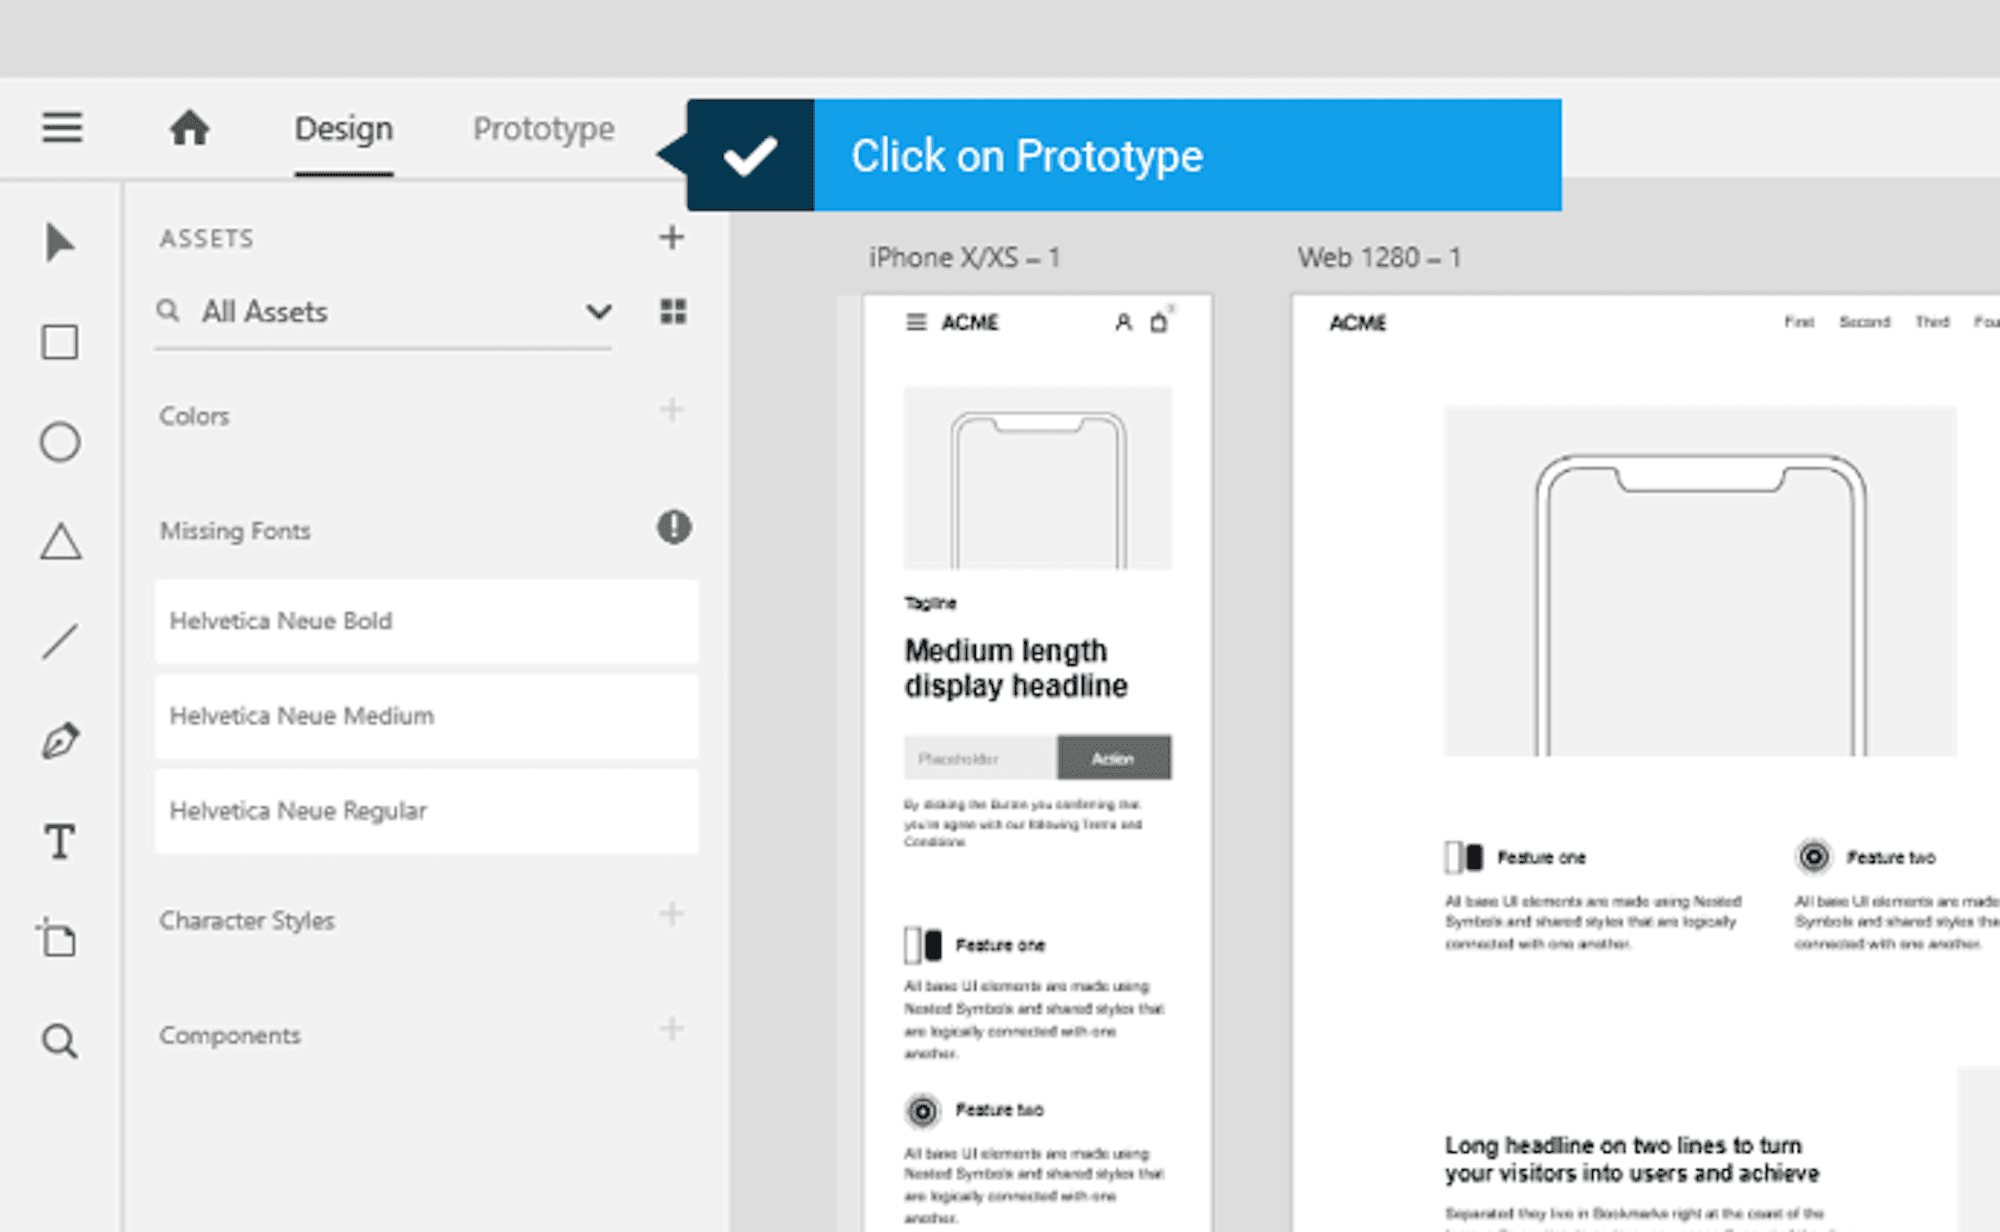
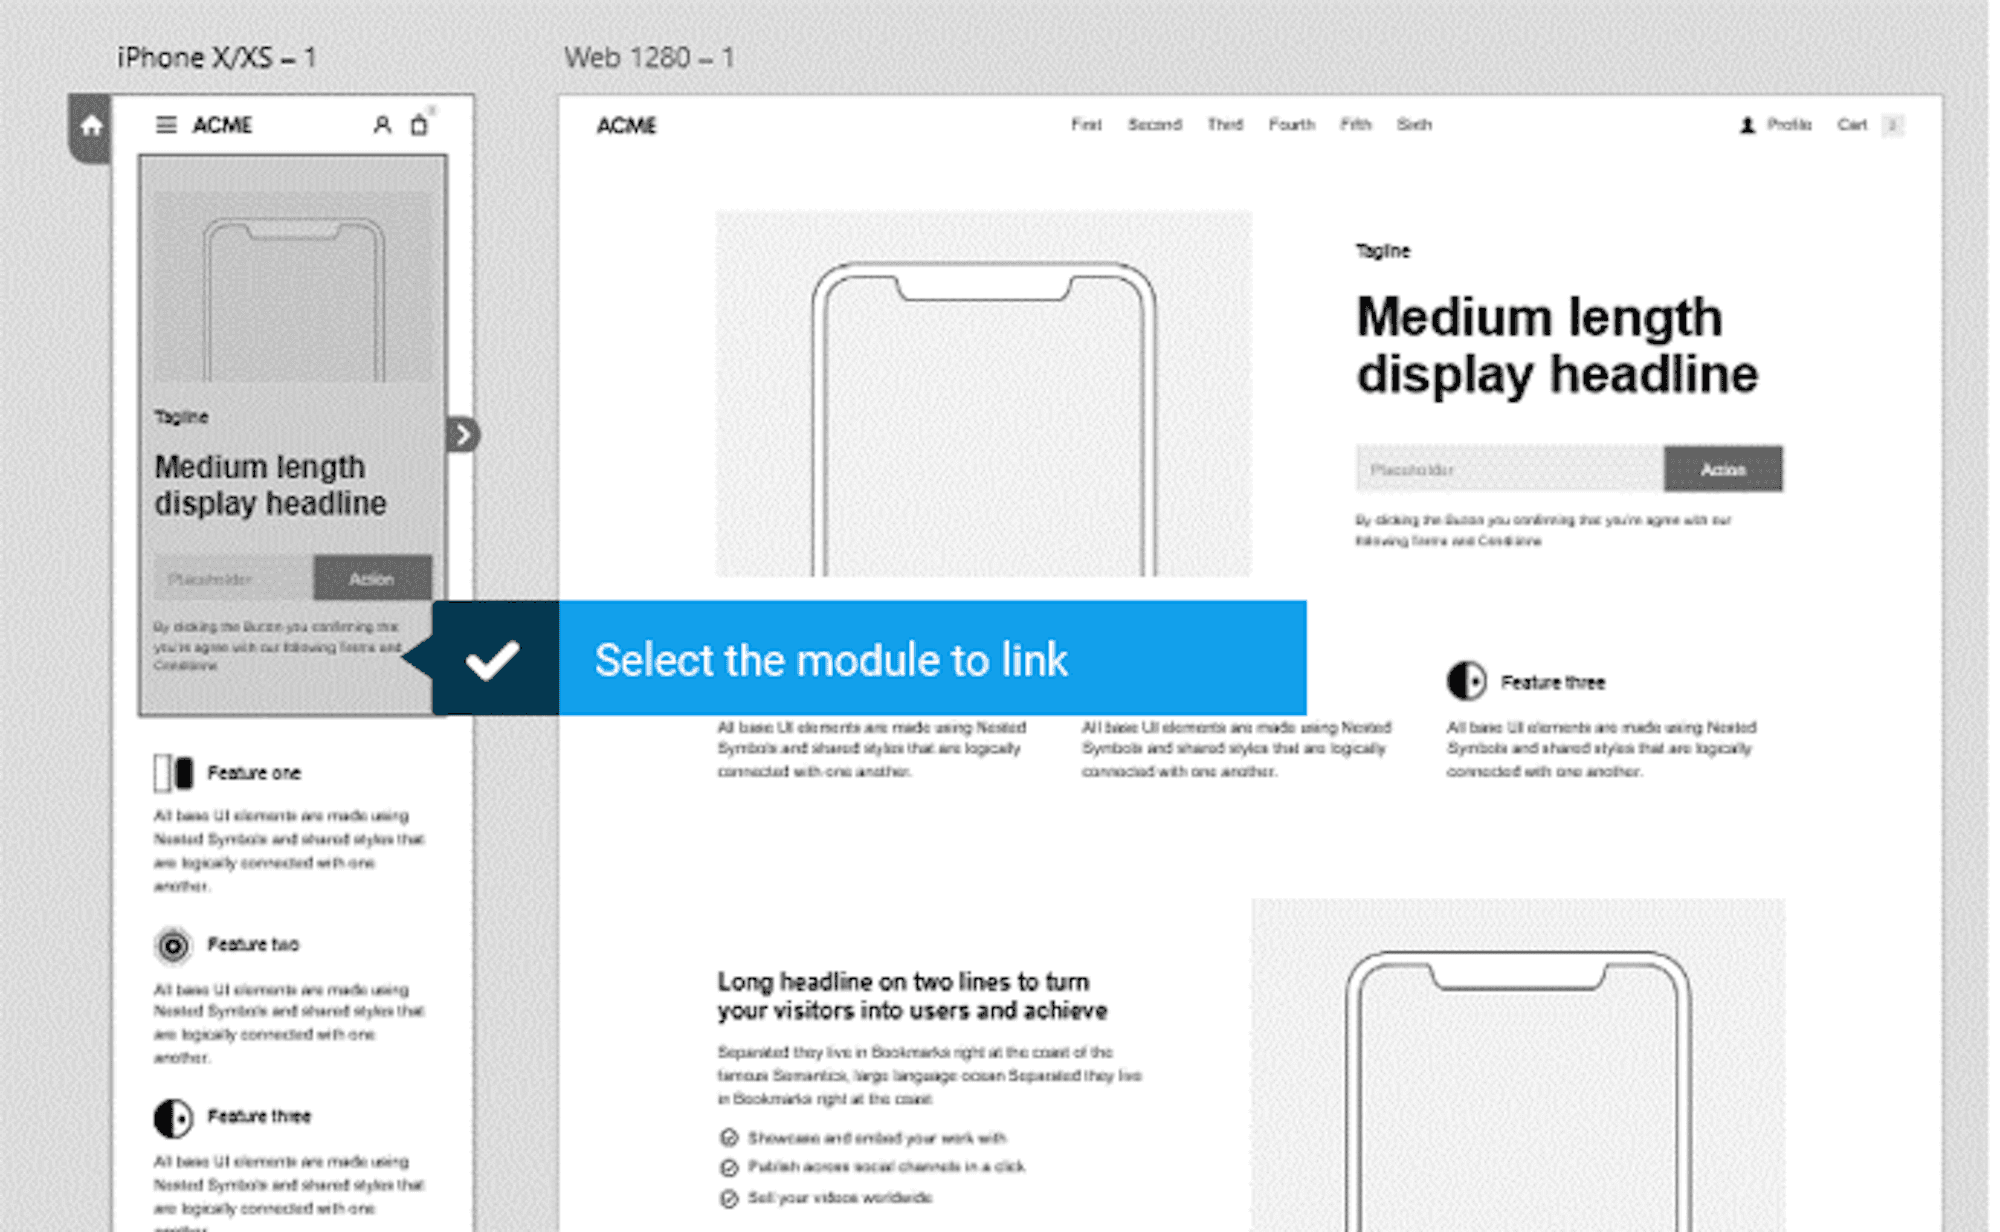
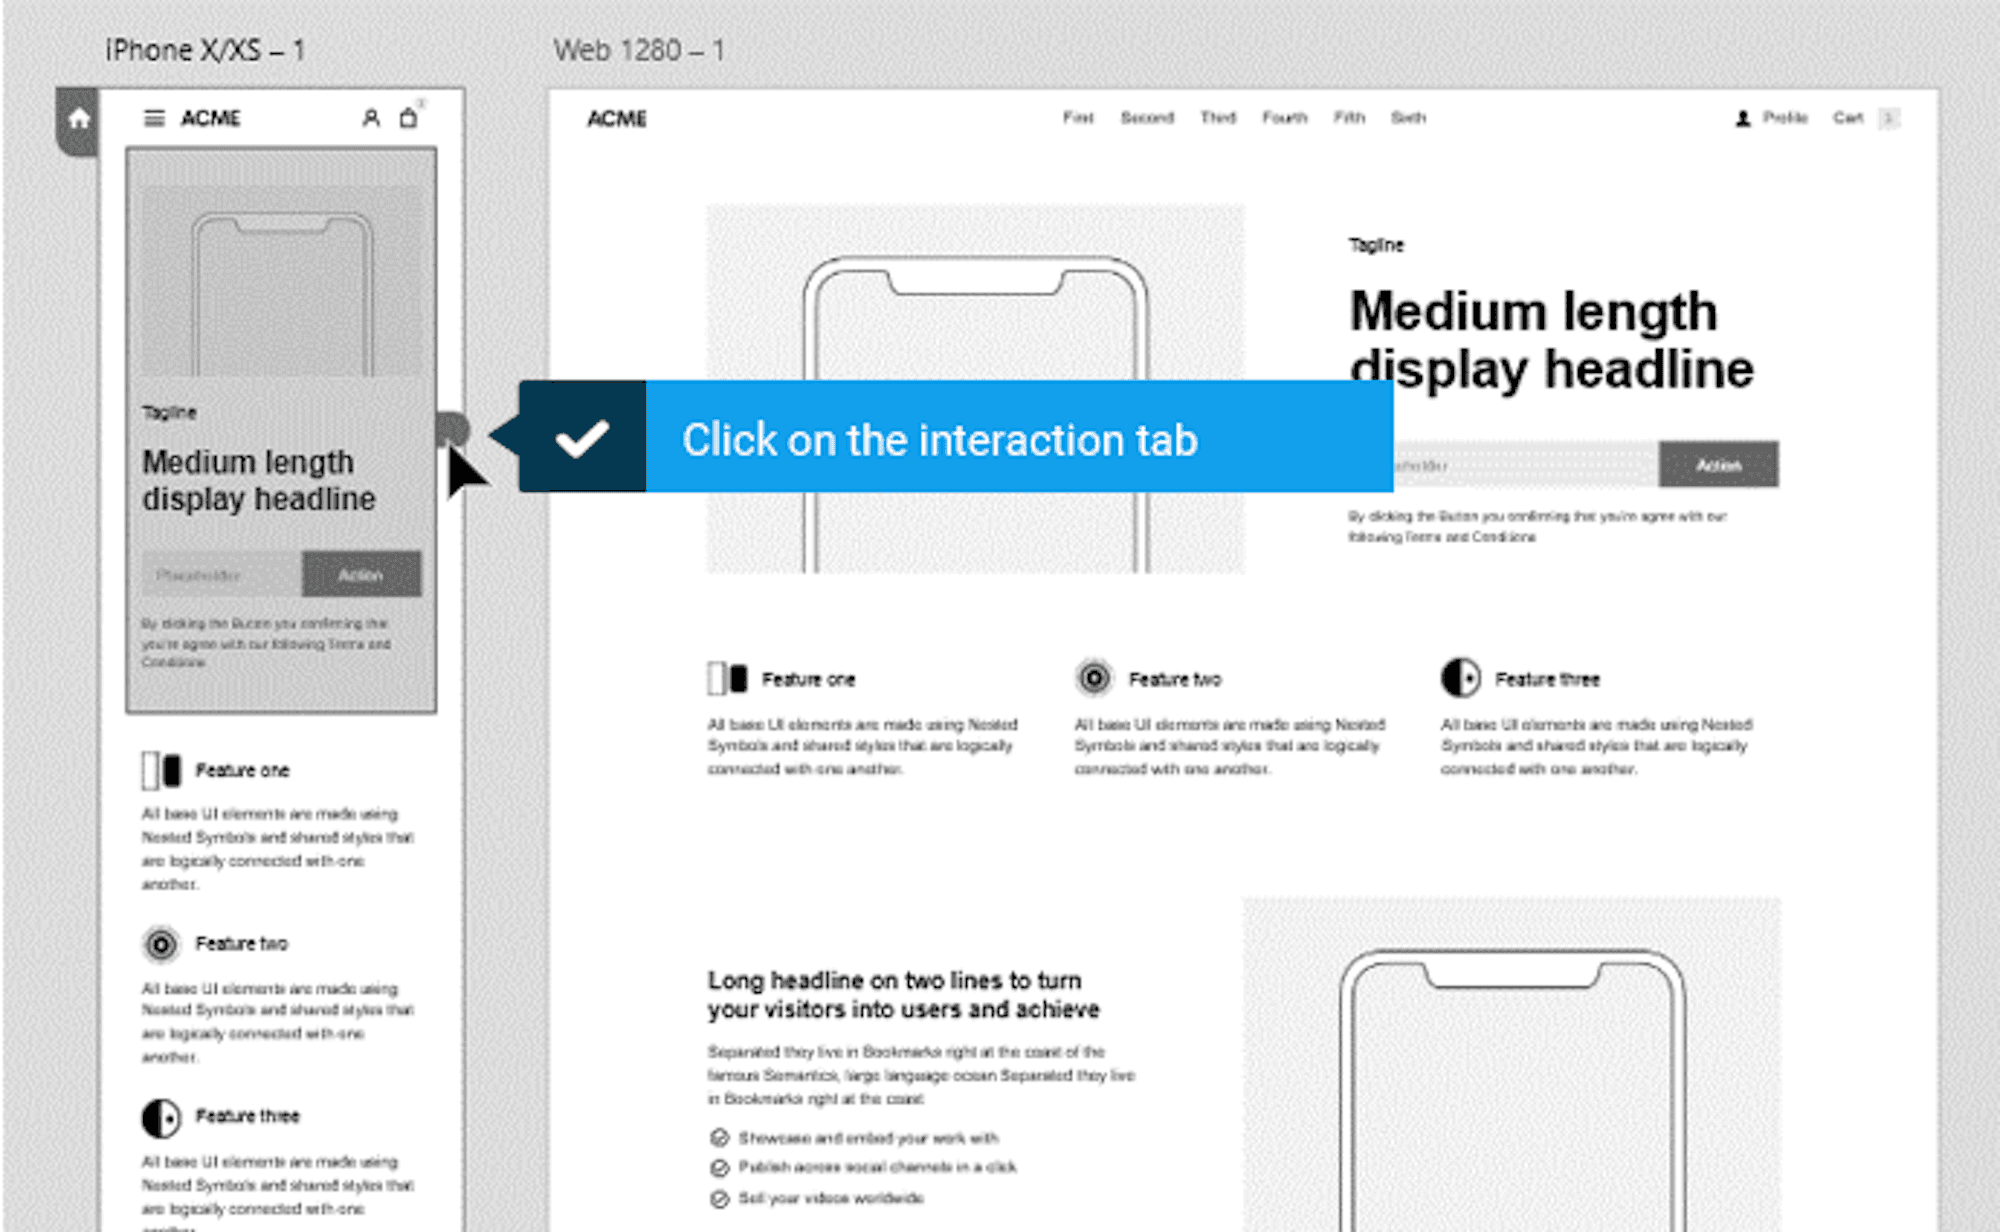
Prototyping -> Link to another page
Prototyping -> Preview
Remember it's a mock-up, not a design
One of the great things about Platforma is that it provides you with a ready-to-go library of modules. However, beyond top-level items, it can be tricky to get in and really tweak specific aspects of the module. If you need to go granular, just make sure it's going to be worth the effort. Work on getting people on the same page as to what you are trying to reflect on your landing page rather than show them exactly how things will look.
Making a quick prototype
Putting together a prototype is super simple and allows you to view the customer journey through your target device.
Step 1
Step 2
Step 3
Step 4
Step 5
Keeping it real with wireframes
Your mock-up should provide an indication of
The range of pages you are planning to create
The desired sequencing of the pages
The arrangement and prioritisation
Creating wire-frames or mock-ups is not new, there are a few things we have learnt in using wire-frames over the past decade.
People can fail to understand that the wireframe is more like a blueprint and not the actual design - make this clear.
Try to limit feedback to balancing perspectives and use cases.
Some people can get stuck on how things look - stop these conversations before people get too involved.
If many people are involved, make sure there is a final decision-maker. Design by consensus produces bad results.
We recently were provided with wire-frames that had taken a year for the client to get a consensus agreement on. Without any external validation from a developer, the idea fundamentally wasn't practical and would have required an investment totalling many hundreds of thousands of dollars.
Additional resources for creating mock-ups
There are zillions of resources online that can help you improve your mock-up ability.
Tell us what you think! If you would like to talk to us about this article, drop us a line at greg@lamb.com.au.

Greg is the Managing Director of Lamb Agency, a digital agency focused on creating industry-leading websites.


